This guide is for you if you’ve never uploaded a video and don’t want to buy software or sign up for anything. By the end you’ll have a finished 3–5 minute video with clear audio, royalty-free background music, a thumbnail sized correctly for YouTube, and a description with a proper music credit.
Every NiftyShelf tool below runs in your browser, so your files never leave your device. To put everything together you can use any video editor, or NiftyCut, our free editor that also runs in your browser.
What you’ll need
- A computer with a recent version of Chrome, Edge, Firefox or Safari (the screen recorder doesn’t work in phone browsers)
- A microphone: a headset or your laptop’s built-in mic is fine to start
- A webcam or phone camera, if you’ll appear on screen
- A video editor: any free editor works, or NiftyCut right in your browser
- One free afternoon. A short first video is a realistic, finishable goal
1. Plan one short, specific video
Pick one question you can answer in 3–5 minutes. “How I set up my desk for studying” is easier to film and to find in search than “My life lately”.
Write 3–5 bullet points, one per section, and write your first sentence word for word. The first 10 seconds decide whether people stay, so open with what they’ll get: “In four minutes you’ll see the exact setup I use, and what it cost.”
If you’re scripting, paste the text into Word Counter. It shows speaking time based on about 150 words per minute, so a 600-word script is roughly a 4-minute video.
2. Check your mic and camera first
Open Mic Test and talk at your normal volume. Your level should mostly stay in the green area, peaking around −20 to −6 dB. If it hits red, move back or lower the input volume. Click “Record a 5-second test” and listen with headphones: echo means the room is too bare, a hiss means a fan or computer is too close.
Quick fixes: keep the mic about a hand’s width (15–20 cm) from your mouth, record in a room with soft furnishings, and switch off fans.
If you’ll be on camera, open Webcam Test. Check the resolution and the measured frame rate. If it drops to 15 fps, your room is too dark: face a window or put a lamp behind your screen, and it usually returns to 30 fps. Take a snapshot to check your framing, with your eyes at about the upper third of the picture.
3. Record your footage and voice
Most first videos are one of two types.
A screen tutorial. Use Screen Recorder. Tick “Include microphone”, and share a single window or browser tab rather than the whole screen, so pop-up notifications don’t end up in your video. Use Pause between sections instead of stopping. The file is saved as MP4 or WebM depending on your browser; most editors import both.
A talking or vlog video. Film with your camera or phone’s own camera app, then copy the files to your computer.
For a voiceover recorded separately, use Voice Recorder. Keep “Reduce echo & background noise” on for speech, and save as WAV if you’ll edit it (it doesn’t lose quality when re-saved). Record one paragraph per take.
If your voice ends up too quiet, open Change Audio Volume and press “Normalize”. It raises the whole file evenly so the loudest moment sits at −1 dB, without distortion. Recorded a voice memo on an iPhone? Convert it with M4A to MP3 if your editor won’t open it.
4. Pick background music that fits
Open the music library and filter by tags. Two things matter most: mood and tempo. Use the Tempo slider (Slow, Medium, Fast) to match the pace of your talking.
- Tutorials and talking videos: calm instrumentals around 80–100 BPM. Try chill vlog tracks, such as Head-Nodding Swing (90 BPM).
- Upbeat vlogs, cooking, travel: 100–120 BPM, like Golden Hour Bossa or Kitchen Adventure.
- A short intro: browse intro tracks such as Dawn of the Quest.
Under speech, choose instrumental music. Lyrics compete with your voice and make you harder to follow. Most tracks run 2–3½ minutes, so for a longer video plan on two tracks with a similar mood, or let your editor repeat one.
Download the MP3 from the track page. For a deeper look at choosing and cutting music, read our background music guide.
5. Fit the music to your video
Open Trim Audio (MP3 Cutter) and cut just the part you need. Drag the handles on the waveform or type exact seconds, then press “Play selection” to check. Add a 1–2 second fade in and a 2–3 second fade out so the music never starts or stops abruptly.
Next, lower the music before it goes under your voice. In Change Audio Volume, start around 20–30% and preview. The test is simple: you should hear every word without straining, and notice the music only when you listen for it.
If your editor rejects a file, convert it with MP3 to WAV Converter or WAV to MP3 Converter.
A structure that works: music at full volume for a 3–5 second intro, lowered under your voice for the main part, then back up for the last few seconds as it fades out.
Prefer to do it all in one place? In NiftyCut, put your clips on the timeline, add the track from the Music tab (it’s cut to your video’s length with a fade-out) and lower its Volume under your voice. You can add subtitles there too. The NiftyCut guide walks through every step.
6. Make a thumbnail that’s readable at tiny sizes
YouTube recommends 1280×720 pixels (16:9) and a file under 2 MB.
- Get a picture. Pause your video on a clear, expressive frame and take a screenshot, or use the snapshot button in Webcam Test for a fresh face shot.
- Crop and size it. In Crop Image, pick 16:9. Then use Resize Image to set the width to 1280; with “Keep aspect ratio” on, the height becomes 720.
- Choose colors. In Color Palette Generator, choose “Complementary” for strong contrast and copy the HEX codes.
- Add text. In Add Text to Image, write 2–5 big words, not your whole title. Use an outline, shadow or background box so text stays readable on a busy photo. Keep it away from the bottom-right corner, where YouTube shows the video length. Save as JPG.
- Check the file size. If it’s over 2 MB, run it through Compress Image at around 80% quality.
- Preview it. Load it into YouTube Thumbnail Preview with your title, and look at the search, sidebar and mobile views in light and dark mode. If you can’t read the text in the sidebar view, use bigger text or fewer words.
For more design tips, see Thumbnails and social images that look pro, for free.
7. Write the description and credit the music
Only the first lines of a description are visible before viewers tap “more”, so start with what the video gives them. Then add details, links and the music credit.
Check lengths in Word Counter: YouTube allows up to 100 characters in a title and 5,000 in a description. For videos longer than a few minutes, add chapters: a list of timestamps that starts at 0:00, such as “0:00 Intro, 0:25 My setup, 2:10 What it cost”.
Every NiftyShelf track page has a “Credit line” box with a Copy button. Paste it into your description. It looks like this:
Music: “Track Title” by Artist (niftyshelf.com/music/track-slug)
The music is free for personal and commercial use, including monetized YouTube videos, and you don’t need to ask permission. Two things aren’t allowed: registering our music in Content ID or a similar system, and passing the files off as your own work. The full terms are on the license page.
8. Your upload checklist
- Export from your editor at 1920×1080 (1080p). MP4 is the safest choice. In NiftyCut, choose 1080p in the Export window.
- Upload as Private or Unlisted first and watch the whole thing on your phone.
- Paste your title, description and music credit, and add chapters if you have them.
- Upload your custom thumbnail. If the option is greyed out, YouTube may ask you to verify your account first.
- Answer the “made for kids” question honestly. It’s required for every video.
- Switch to Public, or schedule it for a time your viewers are online.
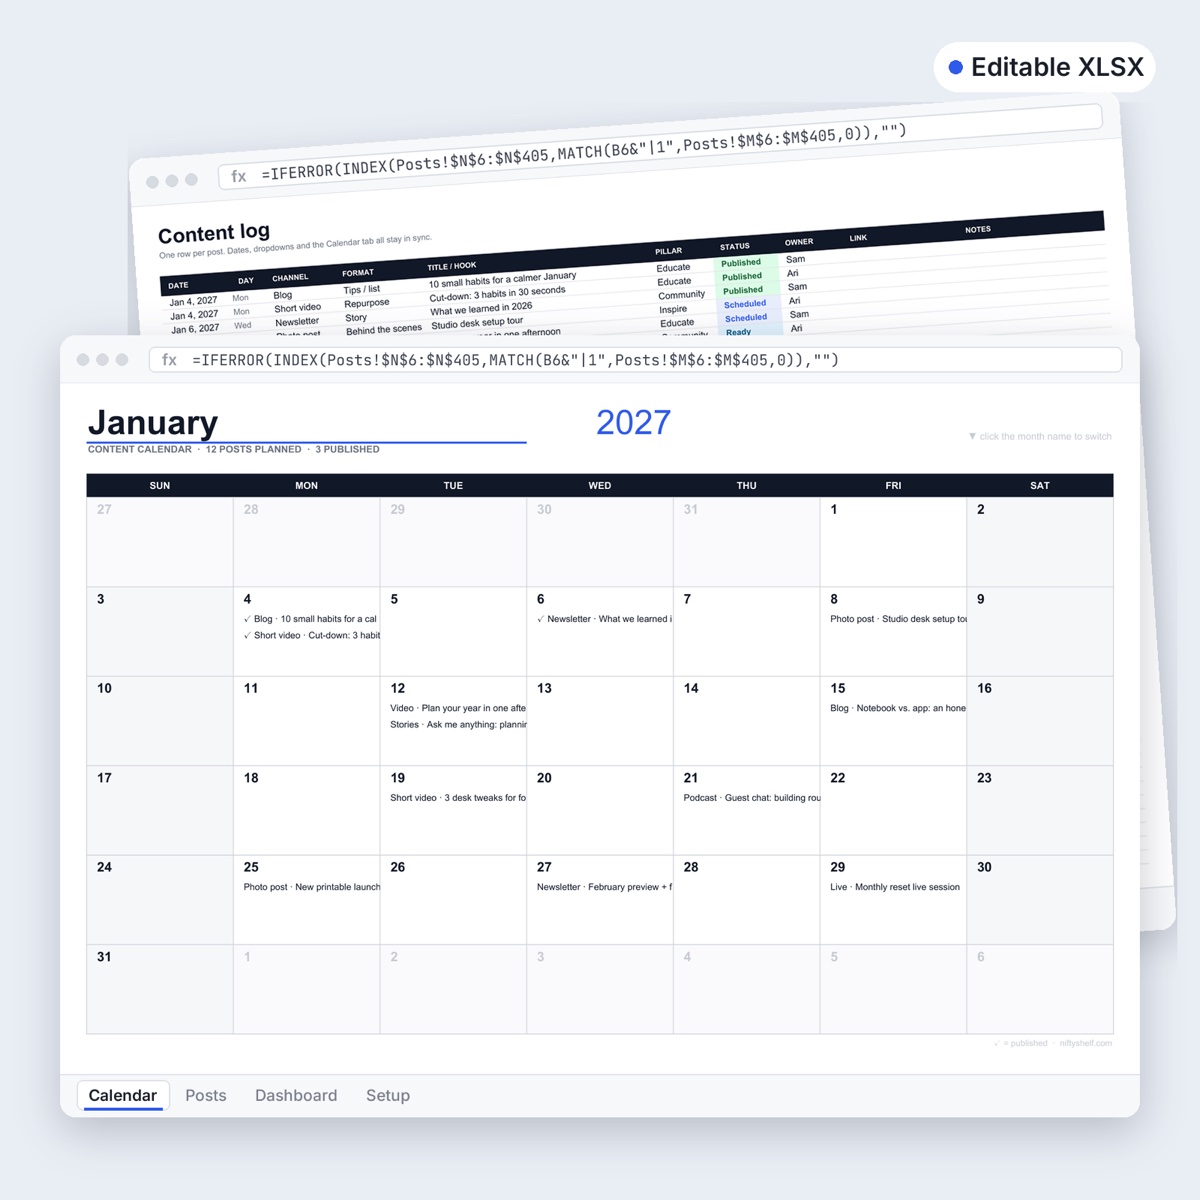
To keep going after the first upload, plan your next videos with a content calendar template.
Common mistakes
- Music louder than your voice. It’s the most common beginner problem. When in doubt, turn the music down further.
- Songs with vocals under speech. Pick instrumental tracks for talking parts.
- Thumbnails with a full sentence. At sidebar size, more than five words turns into a blur.
- Waiting for perfect. Publish the first one, then improve the next.
FAQ
Can I monetize a video that uses NiftyShelf music?
Yes. All NiftyShelf music is free for commercial use, including monetized YouTube videos, podcasts and streams. Please add the credit line from the track page to your description, and never register the music in Content ID.
Do I need to credit the tools or the thumbnail?
No. Images and audio you make with our tools are yours to use with no credit. The same goes for templates. Only the music has a credit line, and we ask you to include it.
Are my recordings uploaded to NiftyShelf?
No. The recorder, audio and image tools process everything inside your browser. Nothing is sent to a server, and closing the page discards anything you haven’t saved.
My screen recording saved as WebM. Is that a problem?
Usually not; most editors import WebM. Recent Chrome, Edge and Safari can also record MP4: choose it under Format before you start.