You don’t need a studio, an expensive microphone or paid software to start a podcast. You need a quiet corner, a plan, and a few free tools. This guide is for complete beginners who want to launch a podcast or a voice-over channel (narrated YouTube videos, audio stories, explainers) without spending money.
By the end you’ll have a recorded and cleaned-up first episode, intro and outro music that’s safe to use, square cover art, show notes, and a QR code to share your show.
What you’ll need
- A computer or phone with a modern browser
- Any microphone: a headset, wired earbuds with a mic, or a USB mic if you have one
- Headphones (so you can hear what you’re actually recording)
- Any free audio or video editor to put the pieces together
- A podcast hosting service that creates your RSS feed, which is how Spotify, Apple Podcasts and other apps get your episodes (several have free plans)
1. Plan the show before you press record
Decide three things first: format (solo, co-hosted or interviews), length (15–30 minutes is a comfortable start) and schedule (weekly or every two weeks is easier to keep than daily).
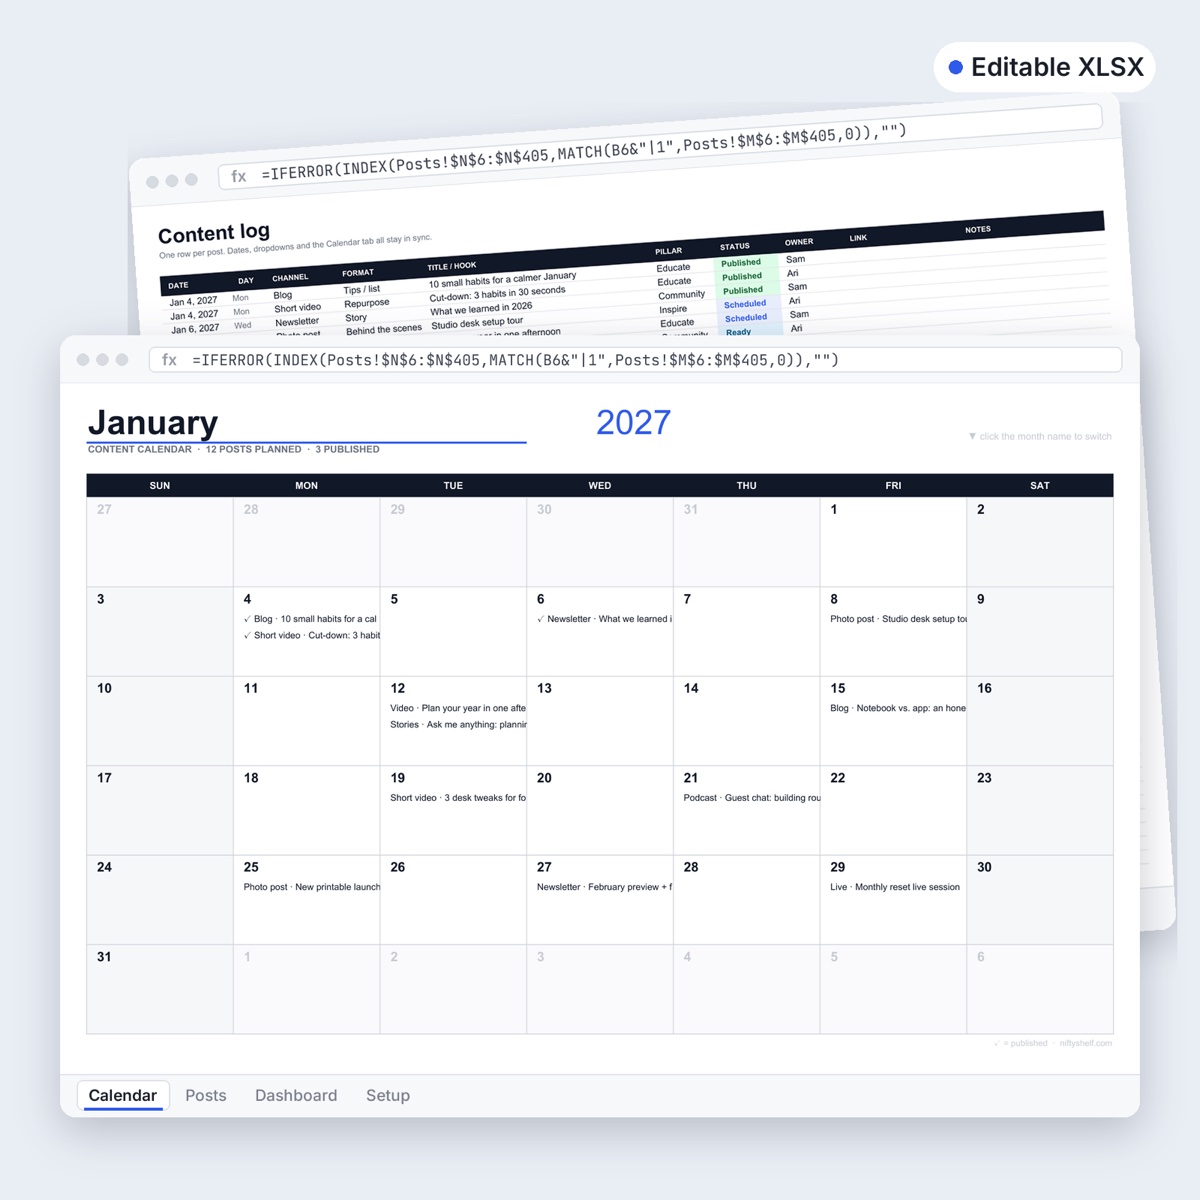
Plan your first three episodes together so you don’t stall after episode one. The 2027 Content Calendar (Excel) works well for this: one row per episode with topic, recording date, release date and status.
If you write a script or outline, paste it into the Word Counter. It shows an estimated speaking time (based on about 150 words per minute), so a 1,500-word script is roughly a 10-minute segment.
2. Set up your room and test your mic
Your room matters more than your microphone. Hard, empty rooms echo; soft, full rooms sound close and warm.
- Pick the softest space you have: a bedroom with curtains, a sofa, or a closet full of clothes.
- Kill background noise: fans, air conditioning, the fridge hum if you can, and put your phone on silent.
- Mic distance: about a hand-span (10–15 cm / 4–6 in) from your mouth, slightly off to the side so “p” and “b” sounds don’t pop.
- Wear headphones so you notice noise while recording, not afterwards.
Now open Mic Test and click Test my mic. Talk at your normal podcast volume and watch the level bar: normal speech should peak around −20 to −6 dB. If it hits red, move back a little or lower the input volume. Then click Record a 5-second test and listen with headphones. Fix any hum or echo now.
3. Record with the Voice Recorder
Open Voice Recorder, click Record and allow microphone access. You can pause and resume, and you’ll see a live waveform as you talk.
Before the real take, try the Reduce echo & background noise option. It turns on your browser’s built-in noise suppression, echo cancellation and automatic volume. Record 30 seconds with it on and 30 with it off, then compare: in a noisy room it helps a lot, but in a quiet room “off” often sounds more natural.
Recording tips:
- Record in segments (intro, main topic, wrap-up). If you mess up one part, you only redo that part.
- Mess up a sentence? Pause for two seconds and repeat it. The silence makes the mistake easy to find and cut later.
- Save as WAV while editing; you’ll make the final MP3 at the end. The recording disappears when you close the page, so save it right away.
- Keep the tab open and the device awake. On phones, keep the screen on.
Time your segments with the Online Stopwatch & Timer. Start the stopwatch with your recording and press Lap at each topic change: the lap times become chapter timestamps for your show notes. Or set the timer to, say, 8 minutes so a segment doesn’t run long.
Interviewing someone remotely? Ask your guest to record their own side with the Voice Recorder and send you the file, while you talk over a call. Each voice is recorded locally, so it sounds far better than a call recording. Recorded on a phone instead? Convert the memo with M4A to MP3, or pull the audio out of a video call recording with MP4 to MP3 Converter.
4. Clean up the recording
Open each segment in Trim Audio (MP3 Cutter). Drag the handles to cut the dead air and fumbling at the start and end, add a 0.5-second fade in and out so it doesn’t click, and save as WAV. (Trim Audio keeps one selection, so cut mid-recording mistakes in your editor; those two-second pauses make them easy to spot.)
Then make the volume consistent with Change Audio Volume. Press Normalize (peak −1 dB) to bring a quiet recording up to a strong level without distortion. Normalize every segment so they all sit at the same level and listeners don’t reach for the volume button between parts.
5. Add intro and outro music
A short, recognizable theme makes your show feel professional from second one. Browse podcast music, all free for commercial use. Some good fits:
- “Gumshoe Groove” (98 BPM): curious, funky, great for mystery, true crime or comedy talk
- “Dim Whiskey Bar” (85 BPM): late-night jazz piano for interviews and calm conversations
- “Amber Leaf Swing” (120 BPM): bright, upbeat jazz for lifestyle or culture shows
How long? Keep the intro to 5–15 seconds. Listeners came for you, not the music. A clean way to hit that is cutting on bar lines: at 120 BPM one bar is 2 seconds, so 4 bars is 8 seconds. Cut it in Trim Audio with a 2-second fade out. (The full method is in How to pick, trim and credit background music.)
The outro can be longer, 15–30 seconds, playing quietly under your closing words and then rising alone at the end. Under speech, lower the music to about 15–25% with Change Audio Volume, or do it in your editor.
Use the same intro every episode. It becomes your show’s audio signature.
6. Export the final episode
Combine your segments and music in your editor, export one WAV, then convert it with the WAV to MP3 Converter:
- 128 kbps is fine for voice-only shows and keeps files small.
- 192 kbps if music plays a big part.
Check your host’s current recommendations before uploading.
7. Make square cover art
Your cover is the first thing people see in podcast apps, usually as a tiny square. Most directories ask for a square image of at least 1400 × 1400 px and up to 3000 × 3000 px, in JPG or PNG; check your host’s current requirements.
- Start with a large photo or graphic and open Crop Image. Lock the ratio to 1:1 and frame your subject.
- Open Resize Image and set it to 3000 × 3000 px. Start from a big image: enlarging a small one looks soft.
- Add your show name with Add Text to Image. Use 2–4 big words, a bold font, and an outline or shadow so it reads on any background. Shrink the preview on screen to thumbnail size: if you can’t read it, make it bigger.
- Run it through Compress Image at 80–90% quality to cut the file size. Leave the max size on Keep original size so it stays 3000 px.
More design tips are in Social images like a pro.
8. Write show notes and promote the episode
Show notes help people decide to press play and help search engines find you. Draft them in the Word Counter and include:
- A 1–2 sentence summary at the top (apps often show only the first lines)
- Chapter timestamps from your stopwatch laps
- Links you mentioned
- Your music credit, copied from the track page, e.g.
Music: “Gumshoe Groove” by NiftyShelf (niftyshelf.com/music/gumshoe-groove)
To promote offline, make a code with the QR Code Generator pointing to your show page. Use PNG for screens and slides, SVG for print, and keep a dark code on a light background so it scans. The codes are static and never expire, so one code works for your whole show.
Common mistakes
- Buying gear before fixing the room. A blanket on the wall beats a pricier mic in an echoey room.
- Long music intros. Over 15 seconds and people skip, or leave.
- Different volume every episode. Normalize every segment, every time.
- Forgetting to save. The recorder doesn’t keep audio after you close the tab.
- Skipping the music credit. Paste it into a show notes template you reuse.
FAQ
Can I use NiftyShelf music in a podcast with ads or sponsors?
Yes. All tracks are free for personal and commercial use, including monetized podcasts and YouTube. Please add the credit line to your show notes, and don’t register the music in Content ID or similar systems. See the license.
Do I need an expensive microphone?
No. A headset or earbud mic in a soft, quiet room sounds better than a costly mic in an echoey kitchen.
How long should my intro music be?
Usually 5–15 seconds, cut on a bar line with a short fade. The outro can run 15–30 seconds under your closing words.
Is my recording uploaded anywhere?
No. The Voice Recorder, Mic Test and all audio tools run in your browser, so your voice never leaves your device until you choose to upload the episode to your host.
Making video versions or clips of your episodes? See Make your first YouTube video with free tools and the Shorts, Reels and TikTok kit. For a simple video version, put your cover art on the timeline in NiftyCut, lay the episode audio under it and export an MP4.