A free printable really starts working for you once the worksheet shows your class name, the sign-in sheet has your event’s date, and five separate downloads become one tidy pack. This guide is for teachers, small business owners, parents and creators who want to do that without buying software or uploading files anywhere.
By the end you’ll have a personalized, page-numbered PDF pack that prints at the right size, is small enough to email, carries a QR code to your page and, if you like, comes with a short flip-through video.
What you’ll need
- One or more templates from NiftyShelf templates
- A computer or tablet with an up-to-date browser (our PDF tools run in the browser, so your files never leave your device)
- A printer, or a print shop if you want cardstock
- Optional: your spreadsheet, presentation or word-processing app for Excel, PowerPoint and Word templates
- Optional: a video editing app
1. Find the right template
On the templates page, narrow things down with the tag chips or the search box. You can pick several chips at once, and only templates that have all of them stay visible. Filters are saved in the address bar, so you can share a selection like this with a colleague.
Each template page lists the format, paper size and number of pages. A few examples:
- Class Attendance Sheet: monthly and weekly registers for 25 students, in Letter and A4.
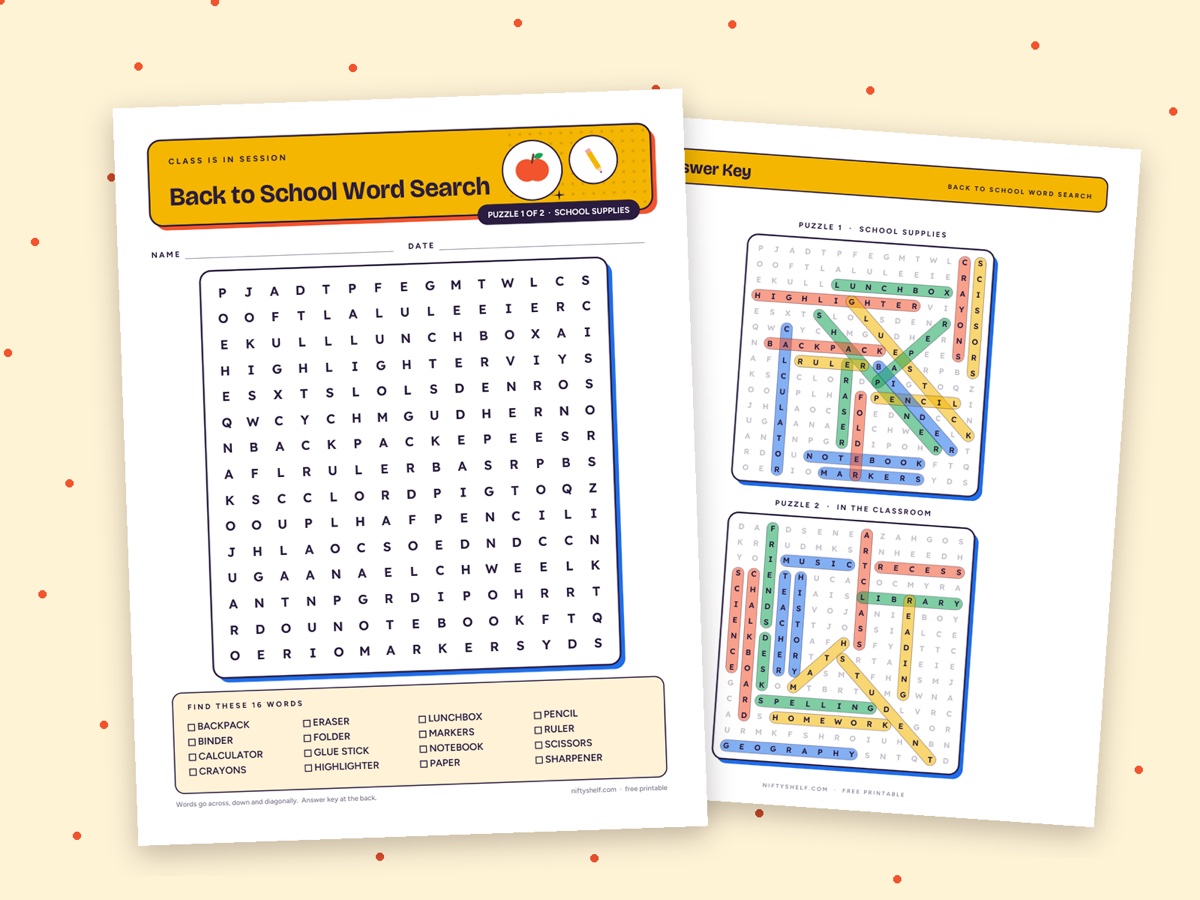
- Outer Space Word Search: two puzzles, with the answer keys at the back.
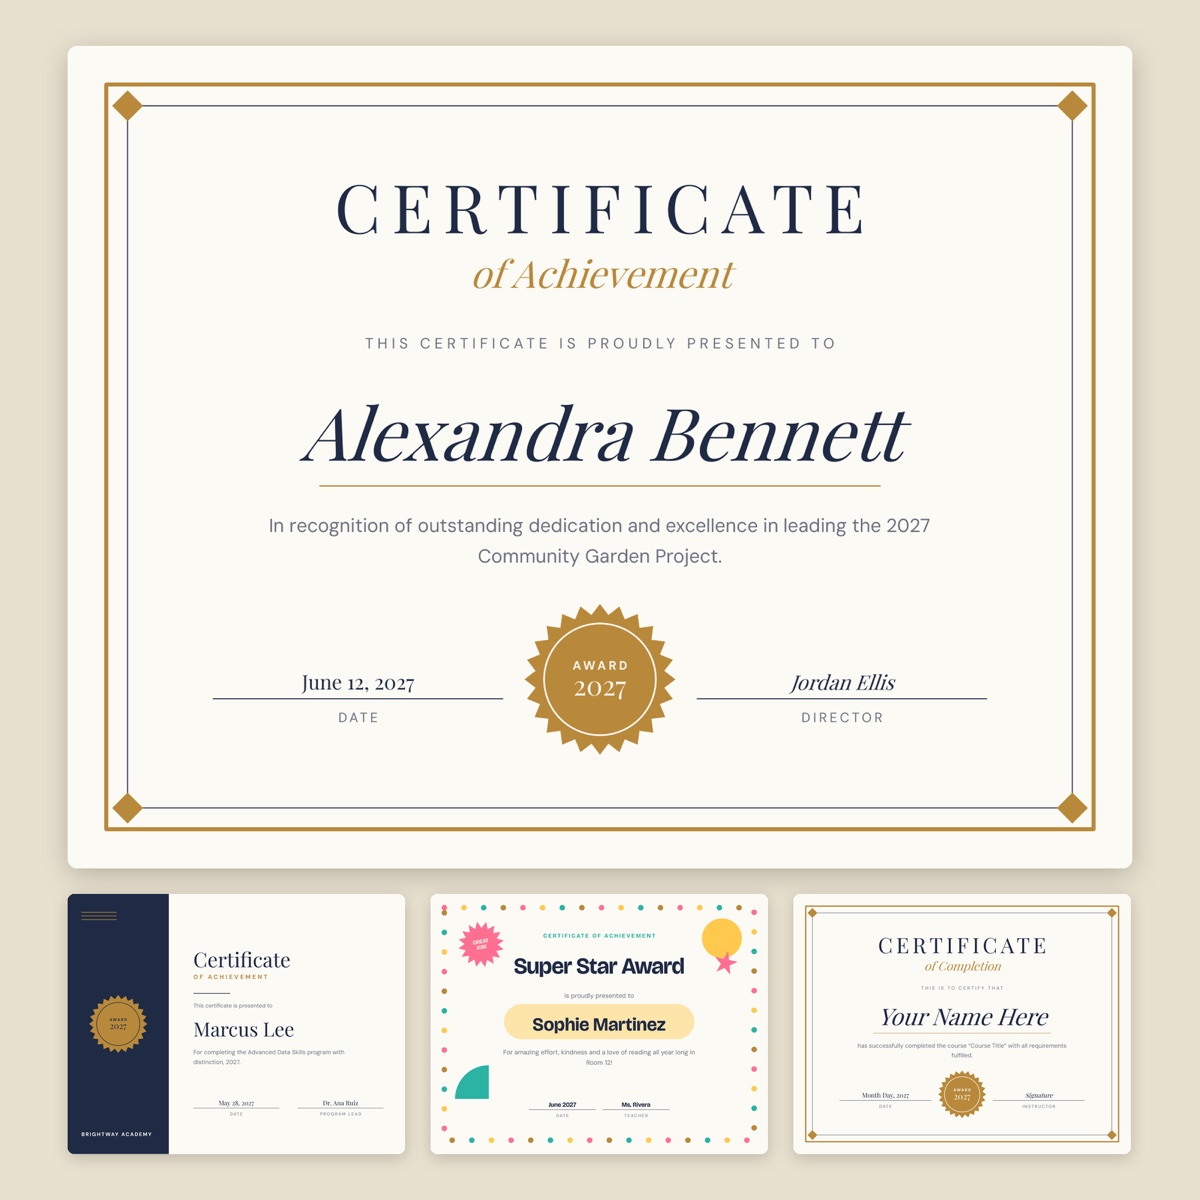
- Certificate of Achievement (Editable): four certificate designs in one PowerPoint file.
- Clean Invoice for Word: a Word document you type straight into.
2. Know what’s inside the download
- ZIP: unzip it first. Inside are PDFs, usually one for US Letter and one for A4, sometimes with extra versions: the Cute To-Do List has a color and a print-friendly file, and 1 cm Graph Paper comes in gray or blue, with or without margins. A README.txt lists the files.
- PDF: ready to print, or to edit with the tools below.
- Excel, PowerPoint, Word: open the file in your spreadsheet, presentation or word-processing app and type. When you’re done, use “Save as PDF” or “Export as PDF” so you can combine it with other pages.
3. Fill in, edit and sign your PDFs
- Built-in form fields. Some PDFs have fields ready to type into. The Class Attendance Sheet has class, teacher and term boxes; the Event Sign-In Sheet has event, date and location. Open them in Fill PDF Form and turn on “Flatten” if you want the answers locked so they look the same on every device and printer.
- No fields? Add text anywhere. Edit PDF puts text, lines, rectangles and images on any page. Write a student’s name on the I Love Reading! Kids Reading Log, place your logo on a sign-in sheet, or cover a word with a whiteout box and type a new one on top.
- Signatures. Sign PDF lets you draw your signature with a mouse or finger, or type your name in a handwriting style, then place it on the line. It adds a picture of your signature, like ink on paper, which suits certificates and permission notes.
- Image pages. For PNG or JPG pages, Add Text to Image adds captions with your choice of font, color, outline and shadow at the original resolution.
Keep a clean copy of every original.
4. Build your own pack for a class, team or client
Example: a “Reading Week” pack with the kids reading log, a Book Review Page, the space word search and a certificate exported to PDF.
- Trim what you don’t need. Remove the answer key pages from student copies with Delete PDF Pages and keep a separate teacher copy. Only need a few of the 17 pages of Christmas Bingo Cards? Split PDF pulls out a range like “1-4”.
- Combine. Drop the files into Merge PDF and set the order with the arrows. Don’t mix Letter and A4 files in one pack.
- Fine-tune the order. Rearrange PDF Pages lets you drag page thumbnails into place.
- Number the pages. Add Page Numbers to PDF offers six positions, formats such as “Page 1 of 10”, and “Skip the first page” for your cover.
- Add your branding. Add Watermark to PDF stamps text on every page. Keep it small and faint, like “Ms. Park’s Class, Room 12” or “Draft for review, Bright Bakery”, so it doesn’t hide the activity.
For a team or client, a Meeting Agenda and a Gantt Chart, both exported to PDF, plus the Project Status Report Deck make a neat kickoff pack.
5. Print it right
- Actual size, not “Fit to page”. Pick 100% or “Actual size” in the print dialog. “Fit” shrinks the page slightly, so 1 cm squares stop being 1 cm.
- Match the file to your paper. US Letter is 8.5 × 11 in; A4 is 210 × 297 mm, a little narrower and taller. Most of our ZIPs include both. If a file only comes in the other size, that’s when “Fit to page” is the right choice.
- Double-sided. Flip on the long edge for portrait pages and the short edge for landscape pages, and test with two pages first. If your pack has an odd page count and each copy should start on a fresh sheet, add a notes page such as Dot Grid Paper at the end.
- Paper weight. Regular 80 g/m² (20 lb) paper is fine for worksheets and logs. Certificates, gift tags and bingo cards hold up better on cardstock of about 175–215 g/m² (65–80 lb cover); check what your printer can feed.
- Save ink. Choose the print-friendly version when there is one.
6. Make it email- and phone-friendly
Our templates are vector PDFs, so most files are small, but a merged pack with lots of illustrations can get heavy. If it’s over your email limit, run it through Compress PDF and compare the sizes. Compression saves pages as optimized images, so text is no longer selectable: share the compressed copy and print from the original.
For a preview image in a newsletter, team chat or Pinterest post, PDF to JPG turns each page into an image (150 DPI suits screens, 300 DPI suits printing). Then add a title like “Free Reading Week Pack” with Add Text to Image. Our social images guide has more ideas.
7. Add a QR code that links to your page
A QR code sends readers straight to your class page, sign-up form or shop.
- In the QR Code Generator, choose URL and paste your link. Keep a dark code on a light background.
- Download it as a PNG.
- Open your pack in Edit PDF, add the PNG as an image and place it in a corner.
- Print one page and scan it with your phone before printing the stack. Codes smaller than about 2 cm (0.8 in) can be hard to scan.
These static codes never expire and nothing tracks the scans.
8. Show it off in a short flip-through video
A 15–30 second flip-through shows what’s inside.
- Turn the pages into images with PDF to JPG, or record yourself scrolling through the PDF with Screen Recorder on a computer.
- In your video editing app, give each page about 1–1.5 seconds and open with the most eye-catching one.
- Pick a track from our vlog music; calm chill tracks suit planners and worksheets. Cut the part you want with Trim Audio (MP3 Cutter) and add a short fade out.
- Paste the credit line from the track page into your description: Music: “Track Title” by NiftyShelf (niftyshelf.com/music/track-slug).
For vertical video, see the Shorts, Reels and TikTok guide and the background music guide.
What the license allows
Templates are free for personal and commercial use and need no credit. You can edit and print them for yourself, your class, your team or your clients. You can’t resell or redistribute the files as-is or nearly as-is, for example by uploading them to template shops, or present them as your own original work. If someone wants the blank template, share a link to its page. Full terms: license page.
Common mistakes
- Printing with “Fit to page” on, then wondering why the grid is off
- Merging Letter and A4 files into one pack
- Overwriting your only clean copy
- Printing from the compressed copy instead of the original
- A large, dark watermark that covers the activity
FAQ
Can I type into any PDF template?
Only some templates have form fields, such as the Class Attendance Sheet and Event Sign-In Sheet. For everything else, Edit PDF lets you place text anywhere on the page.
Are my files uploaded when I use these tools?
No. Our PDF and image tools run in your browser, so your templates, names and signatures stay on your device.
Can I use a pack I made in paid work?
Yes. You can print customized templates for a client or hand them out in a paid class or workshop. What isn’t allowed is selling or sharing the template files themselves, as-is or lightly changed, for example on a template shop.
Do I need to credit NiftyShelf?
Not for templates or tool results. If you use one of our music tracks in a video, add the credit line from the track page to your description.