This guide is for anyone posting their first short vertical videos — on YouTube Shorts, Instagram Reels or TikTok — without paid apps. By the end you’ll have a repeatable kit: a correctly framed 9:16 clip, clean sound, a music bed cut exactly on the beat, an ending that loops, a cover image and a caption with the right credit line.
Every tool below runs in your browser, so your files never leave your device.
What you’ll need
- A phone or computer with a camera and microphone
- A video editor for putting the clips together: any free editor works, or NiftyCut in your browser
- Aspect Ratio Calculator and Crop Image for vertical framing
- Screen Recorder, Webcam Test and Mic Test for capturing
- One track from the music library and Trim Audio (MP3 Cutter)
- Add Text to Image and Compress Image for the cover
- Optional: Video to GIF Converter and MP4 to MP3 Converter
1. Set up a 9:16 frame before you shoot
Shorts, Reels and TikTok are all vertical 9:16, usually 1080 × 1920 pixels. Set your editor’s project to that size first. In NiftyCut, click 9:16 in the top bar. Already edited a horizontal video? Select a range and press Make a Short to copy it into a 9:16 project and slide the crop left or right (how it works).
If some of your footage is horizontal (16:9), open the Aspect Ratio Calculator, pick 9:16 and type the height of your clip. For 1920 × 1080 footage, a 9:16 slice is about 608 × 1080 (the tool shows even numbers, which video editors prefer). Only about a third of the width survives, so keep your subject in the middle third when you film horizontally.
For still images that will appear in the video (a product photo, a screenshot, a title card), use Crop Image with the ratio locked to 9:16.
Keep the edges clear. On all three apps, the caption, username and buttons sit on top of the bottom and right side of the video. Put faces and on-screen text in the center area.
2. Capture clean video and sound
Test before you record. Open Webcam Test and check the measured frame rate. If it shows 15 fps instead of 30, your room is too dark: many webcams slow down in dim light. Face a window or add a lamp, and the frame rate usually comes back. You can also save a snapshot as a PNG for your cover later.
Then open Mic Test, talk at your normal volume and watch the bar. Speech should peak around -20 to -6 dB. If it hits the red end, move back or lower the input level. Record the 5-second test to hear yourself the way viewers will.
Recording your screen? For tutorials, app demos or gameplay on a computer, use Screen Recorder. You can include your microphone and a tab’s audio, pause between steps, and save as MP4 (or WebM, depending on your browser). Two tips for vertical videos:
- Record a single window instead of the whole screen, and make that window tall and narrow before you start. Less cropping later.
- Choose 30 fps for talking and slides, 60 fps for fast motion like games.
The recording stays in your browser’s memory until you click “Save video”, so save right away. Phones don’t allow web pages to record the screen; on a phone, use its built-in screen recorder instead.
3. Build a hook into the first seconds
Viewers decide almost immediately whether to keep watching, so plan the opening first:
- Start with the payoff. Show the finished dish, the before/after, or the result of the trick in the first frame — then explain how.
- Put a short line of text on screen from frame one, in the center area: what they’ll get, in 3–6 words.
- Cut the warm-up. No logo, no “hi guys”, no slow fade from black. Start mid-sentence or mid-action if you can.
- Let the music arrive with energy. Don’t start the track at its quiet intro; start it at (or just before) a strong beat. Step 4 shows how.
4. Pick a track and cut it on the beat
Short videos need music that gets going fast. Browse energetic tracks or playful tracks. Good starting points: Polaroid Afternoon (100 BPM, bright and nostalgic), Prism Drop (150 BPM, big EDM energy) and Bedspring Bounce (140 BPM, bouncy and short).
Each track page lists the BPM (beats per minute). Use it to cut on a bar line so the music never stops mid-phrase. For songs in 4/4 time (almost every pop, EDM and hip-hop beat):
Seconds per bar = 60 ÷ BPM × 4
- 100 BPM → 2.4 s per bar → 8 bars = 19.2 s, 12 bars = 28.8 s
- 150 BPM → 1.6 s per bar → 8 bars = 12.8 s, 16 bars = 25.6 s
Now open Trim Audio (MP3 Cutter) and drop in the track:
- Play it and find the first strong beat — a tall spike in the waveform. Type that time as the Start (for example 0.4 s).
- Add whole bars to get the End. For a 13-second clip at 150 BPM, 8 bars ends at 0.4 + 12.8 = 13.2 s.
- Press “Play selection” and listen to the cut point. If it lands awkwardly, shift both numbers by one bar.
- Leave fade in at 0. For a normal ending, a fade out of 0.5–1 s sounds smooth. For a loop, keep it at 0 (see step 5).
- Save as WAV if you’ll edit further (no extra quality loss), or MP3 at 320 kbps.
Want the drop to hit at your reveal? Count backwards: if the drop starts at 40.0 s and your reveal is 3.2 s into the video, start the music 2 bars earlier (2 × 1.6 = 3.2 s) at 36.8 s.
In your editor, keep the music well under your voice. For more on mixing, see background music for videos.
5. Make the ending loop
Short videos replay automatically, and a seamless loop makes people watch twice:
- End on a shot that flows into your first shot — the same framing, or a sentence that leads back into your opening line.
- Cut the music on a bar line with no fade out, so the replay restarts right on the beat.
- Make the video length match the music length you calculated, down to the tenth of a second.
6. Pull sound out of your own clips
Recorded a great voiceover or a funny moment on your phone? MP4 to MP3 Converter extracts the audio from MP4, MOV or WebM files and saves it as MP3 or WAV. Bring the result into Trim Audio (MP3 Cutter) to tighten it, then lay it over different footage. Only do this with videos you made yourself or have permission to use.
7. Make a cover frame
Some apps let you upload a cover image; others let you pick a frame from the video — then put the image in your edit as a brief frame and select it.
- Pause your video at a strong moment and take a screenshot, or use your Webcam Test snapshot.
- Open Crop Image, lock to 9:16 and save.
- In Add Text to Image, add 3–5 big words. Use an outline or shadow so they read on any background, and keep them in the center — grid views often trim the top and bottom.
- Save as JPG and run it through Compress Image at 75–80% quality.
8. Tease it with a GIF
GIFs autoplay in community posts, blogs, newsletters and chats. In Video to GIF Converter, pick a 3–5 second moment, a width of 320–480 px and 10 fps. That keeps the file small; GIF size grows with width × frame rate × length.
9. Post with the credit line
Every track page has a credit line with a copy button. Paste it into your caption or description. It looks like this:
Music: “Track Title” by Artist (niftyshelf.com/music/track-slug)
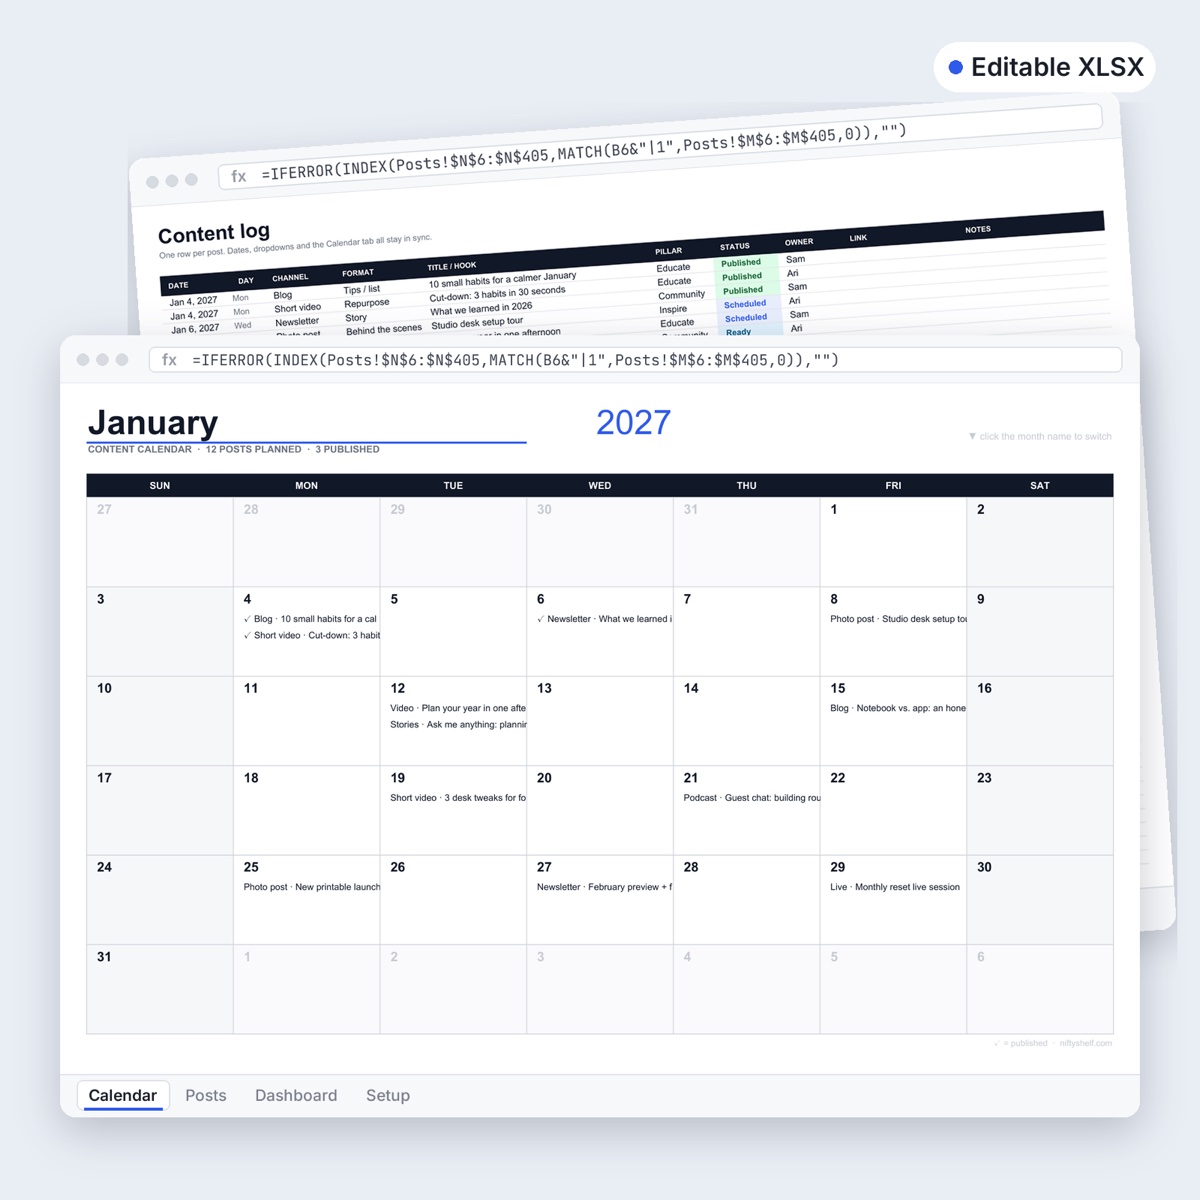
That’s all we ask in return for the free music; things made with our tools need no credit. To plan posts ahead, try the free 2027 Content Calendar spreadsheet. The full rules are on the license page.
Common mistakes
- Music that’s too loud. Lower the music, not your voice.
- A fade out on a looping video. The loop restarts on silence and feels broken.
- Text in the bottom area. The caption and buttons will cover it.
- Guessing the length limit. Shorts, Reels and TikTok change their limits often; check the current limit in each app before you plan a longer video.
FAQ
Can I use NiftyShelf music in monetized Shorts, Reels and TikToks?
Yes. The music is free for personal and commercial use, including monetized videos. Please add the credit line from the track page. Don’t register the music in Content ID or similar systems, and don’t claim it as your own original work.
How do I find the BPM of a track?
It’s listed on each track page. A few experimental tracks have no fixed tempo; for those, cut by ear in Trim Audio (MP3 Cutter) using “Play selection”.
Can I record my phone screen with Screen Recorder?
No. Phone browsers don’t let web pages capture the screen. Use your phone’s built-in screen recorder, then edit as usual. Screen Recorder works in desktop Chrome, Edge, Firefox and Safari.
Is anything uploaded when I use these tools?
No. Cropping, trimming, converting and recording all happen inside your browser, so your clips stay on your device. For longer videos, see making your first YouTube video with free tools.