This guide is for streamers, teachers and tutors who go live — on YouTube, Twitch, or a video-call class — and want the session to feel organized without buying extra software. You’ll set up a simple routine: checks before you go live, music for the waiting screen, timers and fair random picks during the show, handouts people can grab with a QR code, and a recording you can turn into highlights.
All the tools below run in your browser, and nothing is uploaded.
What you’ll need
- Your streaming software or video-call app, plus a webcam and microphone
- Webcam Test and Mic Test
- A few calm tracks from the music library and Trim Audio (MP3 Cutter)
- Online Stopwatch & Timer, Spin the Wheel and Random Number Generator
- QR Code Generator
- Printable templates plus JPG to PDF, Merge PDF, Add Page Numbers to PDF and Compress PDF
- Screen Recorder for recording the session
1. Run a 3-minute pre-show check
Do this 15 minutes before you go live, not 30 seconds before.
Camera. Open Webcam Test and click “Test my camera”. Pick the resolution you’ll stream at (1080p or 720p are common) and read the measured frame rate. If it shows around 15 fps instead of 30, add light in front of you — many webcams slow down in dim rooms. Check your framing too: eyes about a third from the top.
If the picture is black, another app is probably using the camera. Close the other tab or app, run the test, then close the test before opening your streaming software.
Microphone. Open Mic Test, speak the way you will on stream and watch the level bar. Aim for peaks around -20 to -6 dB. Then record the 5-second test and listen: echo means you need headphones; hiss or a hum means the mic is too far away or the input is turned up too high.
2. Add music for “starting soon” and breaks
A silent waiting screen makes people think the stream is broken; a calm instrumental tells them they’re in the right place.
Look for steady, low-key tracks without big drops: lo-fi, chill or study music works well. For example, Lazy Sprite Sunday is a cozy lo-fi track with soft chiptune touches, Head-Nodding Swing is a relaxed boom-bap groove, and Dim Whiskey Bar is soft late-night jazz piano.
Prepare two files with Trim Audio (MP3 Cutter):
- Starting soon (about 3–5 minutes): keep the track as it is, or cut a long section and add a 3-second fade out so it ends gently when you go live.
- Break / BRB loop: cut a section that ends exactly on a bar line, with no fade in or fade out, so it repeats without a bump. Each track page lists the BPM; one bar in 4/4 time lasts 60 ÷ BPM × 4 seconds (2.5 s at 96 BPM).
Most streaming software can loop an audio file in a scene. Keep the music well below your speaking level and mute it when you talk. Our music is licensed for streams, including monetized ones — just add the credit line from each track page to your stream description or panel. See background music for videos for more on levels.
3. Keep time on screen
Online Stopwatch & Timer has a countdown with one-click presets (1, 3, 5, 10, 15, 25, 30 and 60 minutes), a stopwatch with laps, and an alarm that beeps and flashes the tab title.
Ways to use it:
- Countdown before the start: set 5 minutes on your waiting screen so people know when you’ll begin.
- Timed class activities: “You have 3 minutes to answer question 2” keeps everyone on the same clock.
- Study-with-me streams: 25 minutes of focus, then a 5-minute break.
To show it on stream, open the timer in its own browser window and add that window as a source in your streaming software, or share it in your video call. It keeps accurate time in a background tab, but remember that the alarm beep will be heard if you capture your computer’s audio.
4. Make random picks fair and visible
Spin the Wheel — type options one per line (up to 200). Use it for:
- Calling on students: paste the class list and turn on “Remove winner after each spin” so nobody is picked twice.
- Choosing the next game, topic or challenge from viewer suggestions.
The list is saved only in your browser, so it’s there next time. On a shared school computer, press Clear when you’re done.
Random Number Generator — better for giveaways with many entries. Number the entries (for example, 1 to 240 in the order people joined your entry list), turn off “Allow repeats”, and draw three numbers for three winners. Both tools use your browser’s cryptographic random generator, so every option has an equal chance. Check your platform’s giveaway rules first.
5. Share links with a QR code
Reading a URL aloud doesn’t work; a QR code on screen does.
In QR Code Generator, choose URL and paste the link to your handout, sign-up form or replay. Keep a dark code on a light background and make it large on screen. Before you go live, test it from where a viewer would be — phone held at arm’s length from your monitor. The codes are static and never expire, so they keep working as long as the link itself works.
For printed worksheets, download the SVG version so it stays sharp at any size. For an in-person class, the Wi-Fi option lets guests join your network without typing the password.
6. Turn templates into one tidy handout
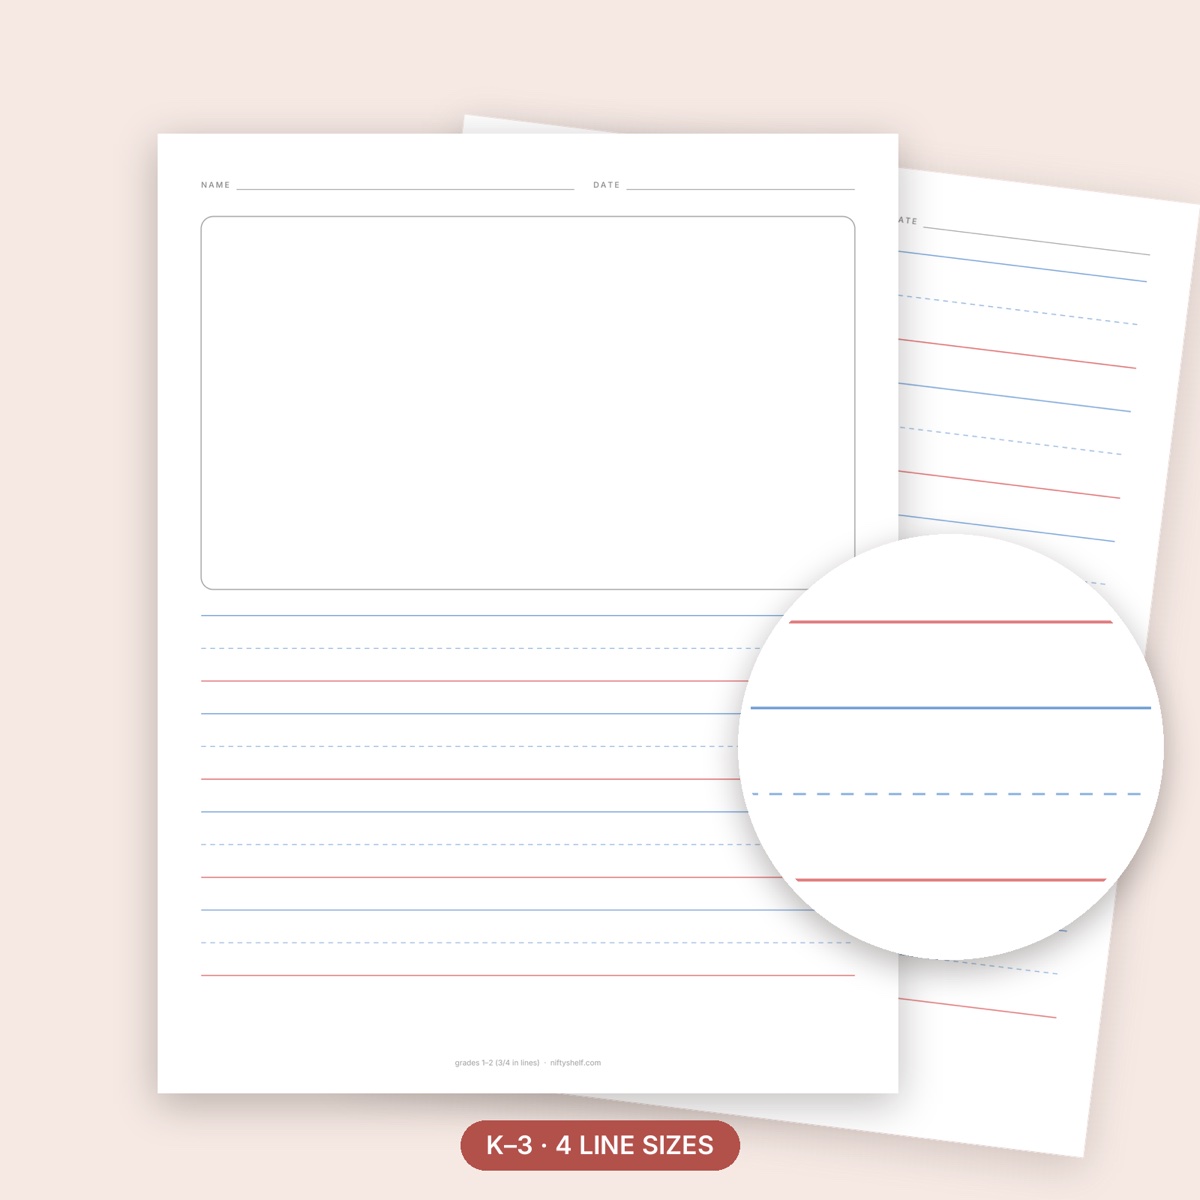
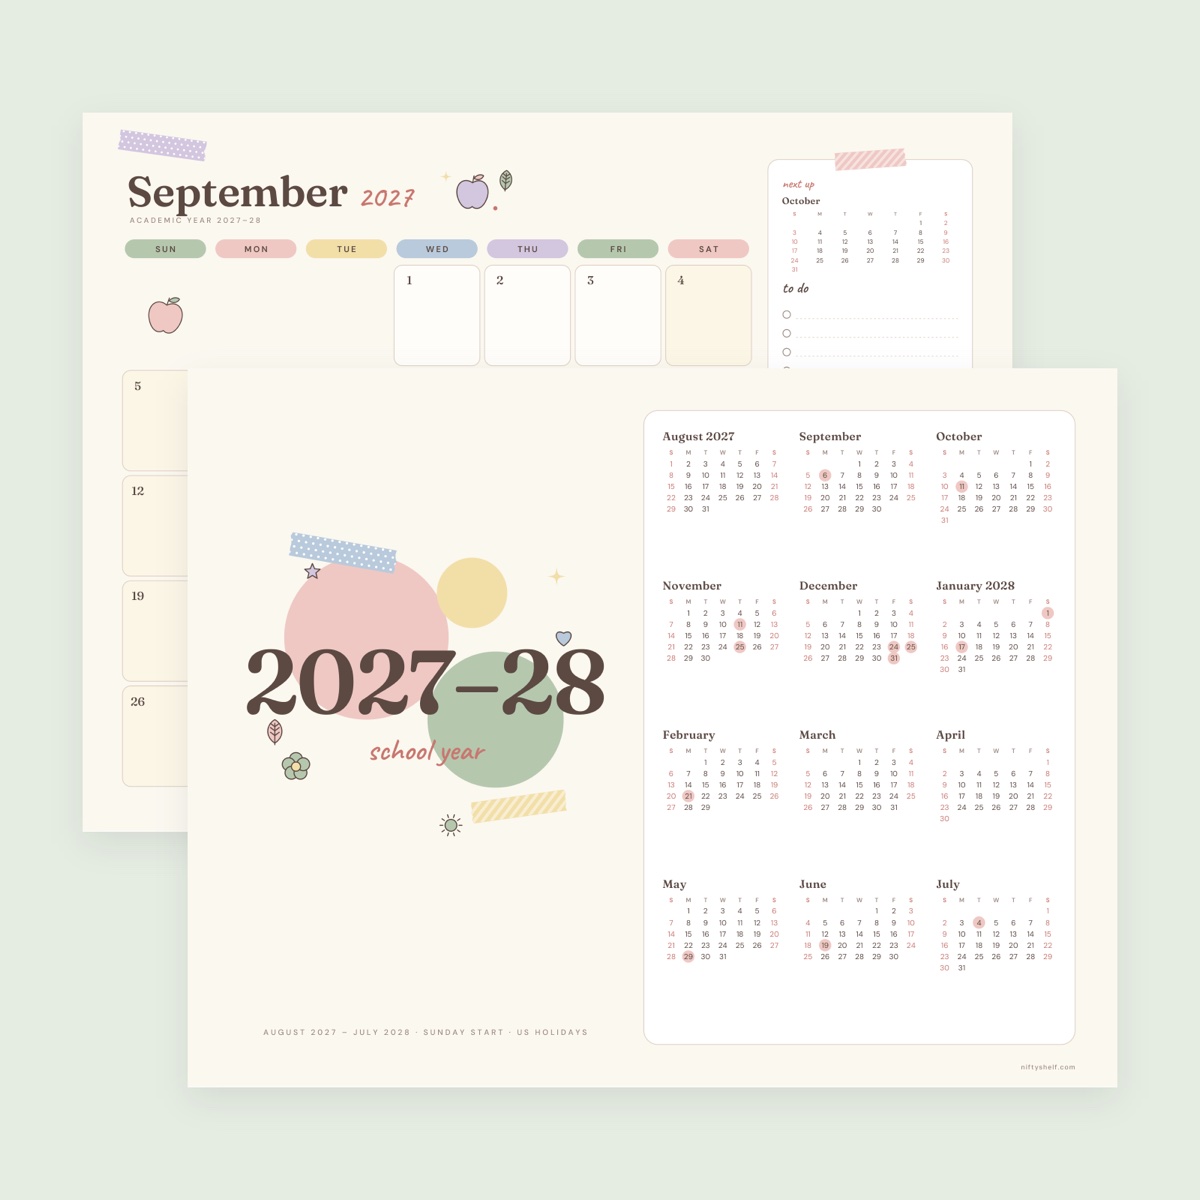
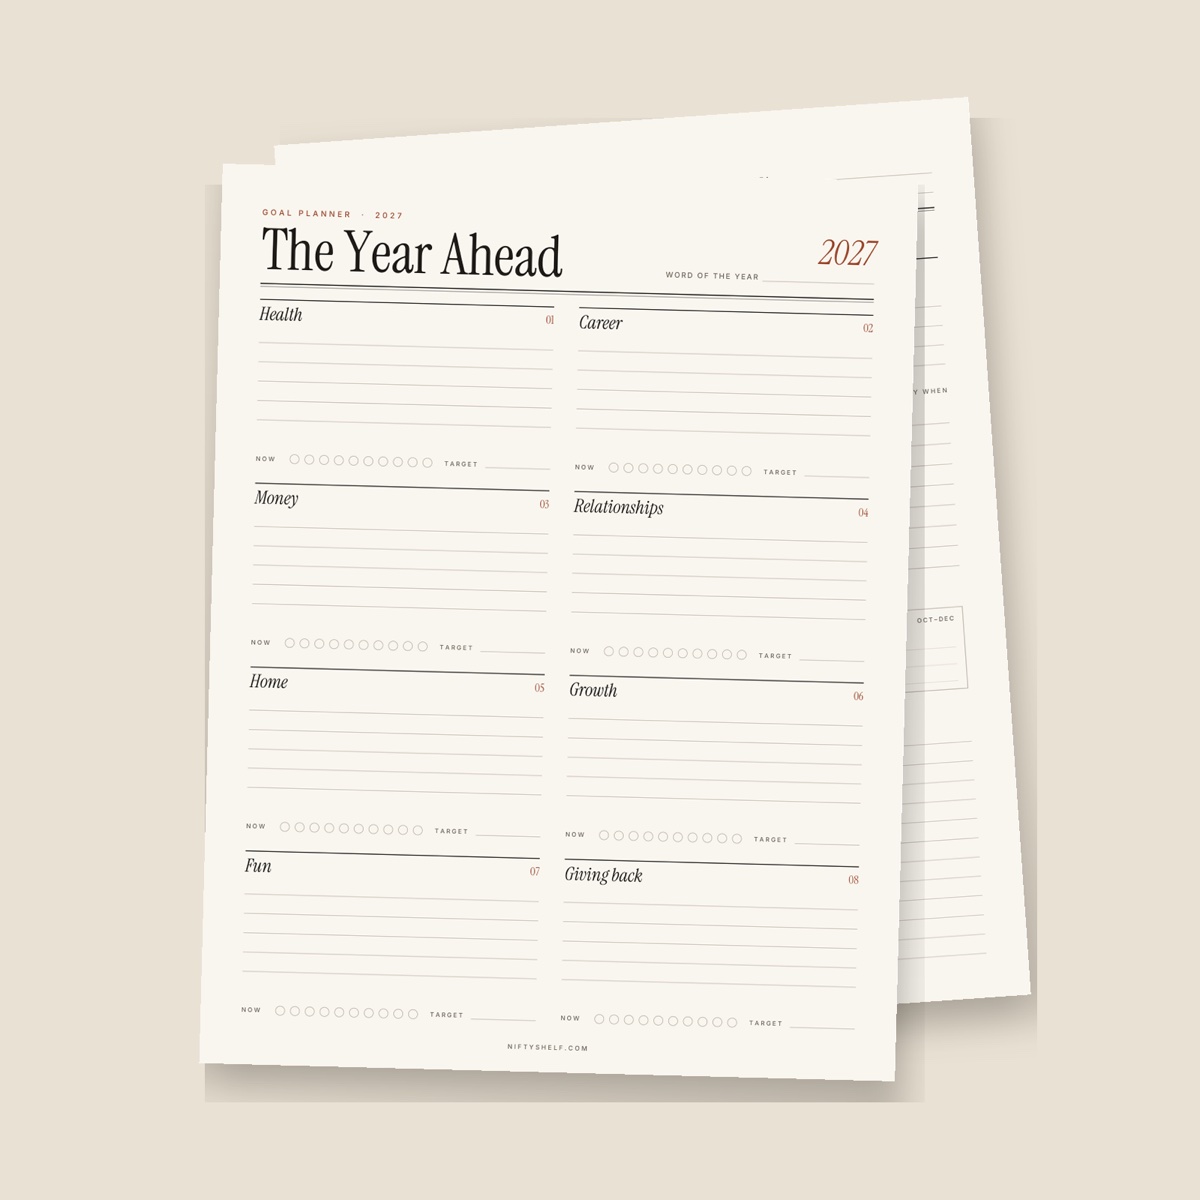
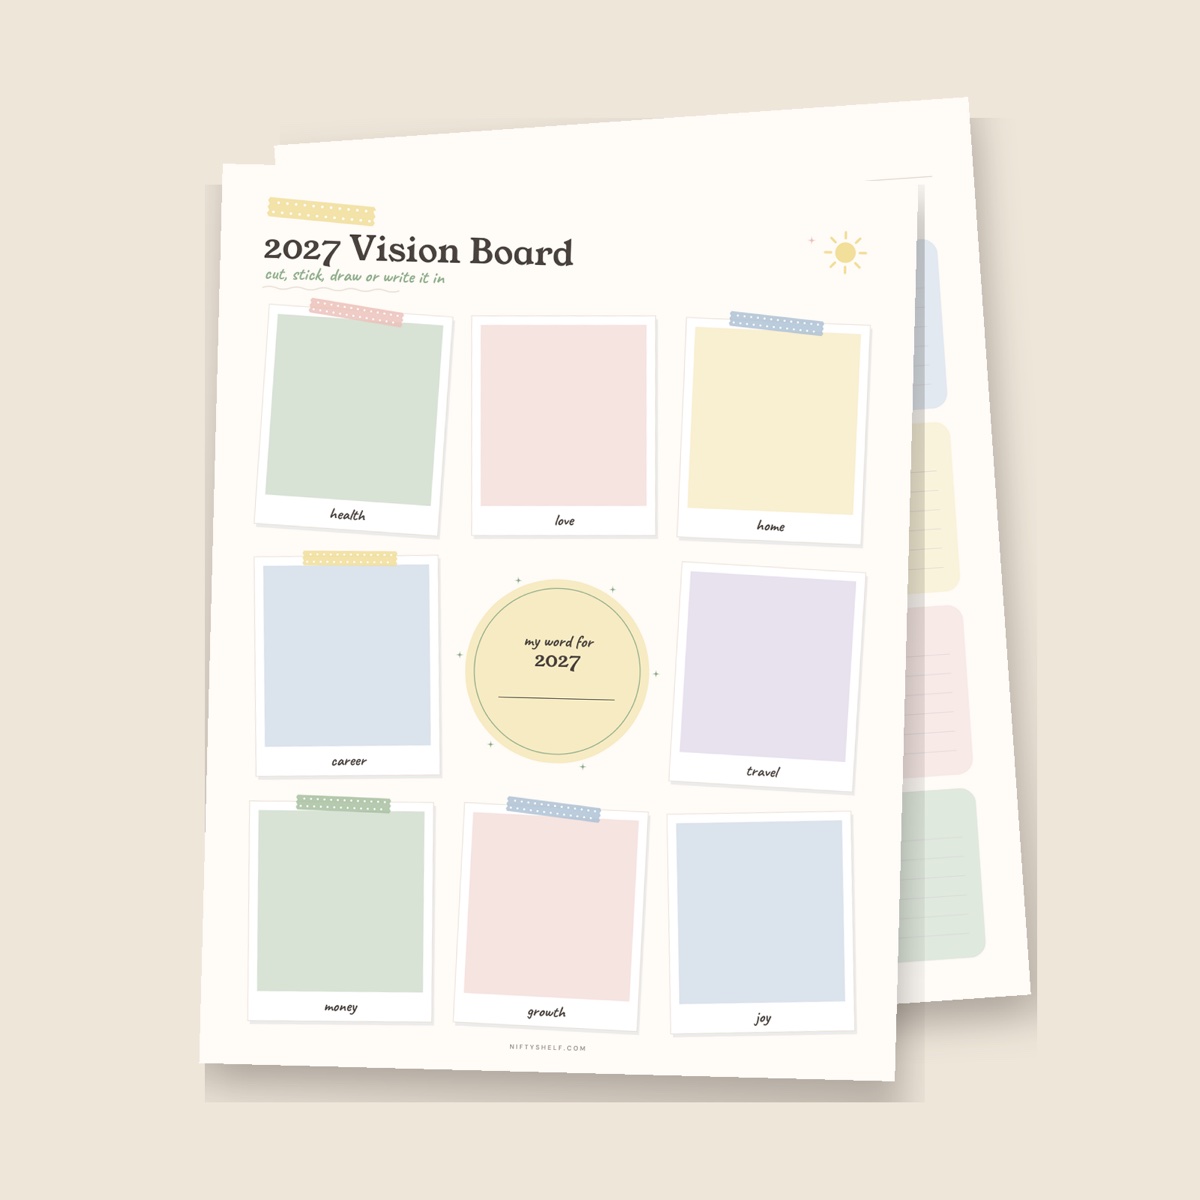
Start with our printable templates: worksheets and school printables are free to edit and print for your class. Most downloads are ZIP files with both Letter and A4 PDFs, so pick the one that matches your paper. Good classroom picks: the Cornell Notes Template (lined, dot and blank), the Ocean Word Search for a warm-up, and the Class Attendance Sheet for your own records.
Then build a single file:
- Photos and screenshots → JPG to PDF. Snap your whiteboard or handwritten examples, pick A4 or Letter, add margins and convert.
- Combine → Merge PDF. Put the pages in class order: agenda, notes sheet, activity, answer key.
- Number → Add Page Numbers to PDF. “Page 1 of 10” at the bottom center helps when you say “turn to page 4”. Skip the first page if it’s a cover.
- Shrink only if needed → Compress PDF. Our templates are already small; compress only when photo pages make the file too big to share. Pages become images, so keep the original if students need to select text.
Share the file in chat or through your QR code. Want to customize the templates first? See customize printable templates.
7. Record the session and clip highlights
If your streaming or class app doesn’t record, use Screen Recorder on a computer. Turn on “Include microphone”, and to capture slide or video sound, choose the browser tab and tick “Share audio” in the picker (Chrome and Edge). macOS doesn’t allow full-system audio from the browser.
- Use Pause during breaks so you don’t record the BRB screen.
- The recording lives in your browser’s memory until you click “Save video”, and closing the page discards it. For long classes, stop and save at each break.
- Tell participants you’re recording, and get permission before sharing a recording that shows students.
Afterwards, cut highlight clips in any video editor, or right in your browser with NiftyCut: split the recording with S, delete the parts you don’t need and export an MP4. Two quick extras: Video to GIF Converter turns a 3–5 second moment into a shareable GIF, and MP4 to MP3 Converter makes an audio-only version for students who review on the go. Trim the dead air at the start with Trim Audio (MP3 Cutter). Clipping vertical highlights? The Shorts, Reels and TikTok kit covers that.
Common mistakes
- Testing while another app holds the camera. On many computers only one app can use the webcam at a time, so close the test before you go live.
- Music as loud as your voice. Fade it down or mute it when you start talking.
- A tiny QR code in the corner. If it doesn’t scan from arm’s length, nobody in chat can use it.
- Recording for two hours without saving. One closed tab and it’s gone. Save at every break.
FAQ
Can I play NiftyShelf music on a monetized stream?
Yes. Our music is free for personal and commercial use, including monetized streams and their recordings. Please add the credit line from the track page to your stream description. Don’t register the music in Content ID or similar systems.
Do I need to credit the templates or tools?
No. Templates and anything you make with our tools need no credit. You can edit and print templates for yourself, your class or your clients. You just can’t resell or redistribute the files as they are. Details are on the license page.
Can students see the wheel or the timer?
Yes, if you share that browser window or tab in your stream or call. Open each tool in its own window so you can share just that one.
Does Screen Recorder work on a tablet or phone?
No. Mobile browsers don’t let web pages record the screen. Use the device’s built-in screen recording, or record on a computer in desktop Chrome, Edge, Firefox or Safari.